Understanding the Starlink Mini 12v Cable
What is the Starlink Mini 12v Cable?
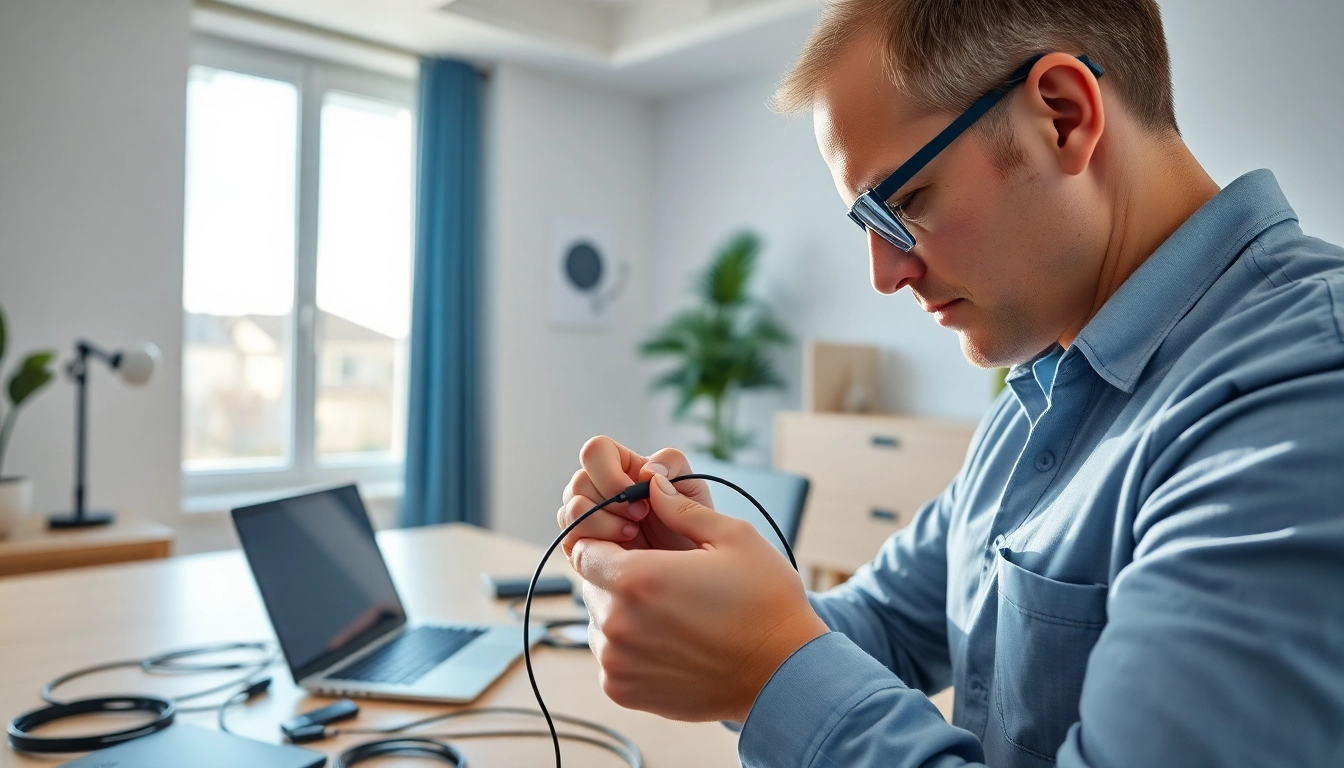
The starlink mini 12v cable is a specialized power cable designed specifically for use with the Starlink satellite internet system. It serves the critical function of transmitting power efficiently to the satellite dish, enabling reliable connectivity no matter where you are. This cable is ideally suited for installations where traditional power access might be limited or even non-existent, such as in remote locations. Its 12v rating indicates that it’s capable of handling low-voltage applications, making it perfect for areas reliant on battery or solar power systems.
Benefits of Using the Right Cable
Using the appropriate cable for your Starlink setup is crucial. The right cable, such as the starlink mini 12v cable, ensures that power is delivered efficiently and safely, which directly impacts the performance and reliability of your satellite internet connection. Some key benefits include:
- Improved Efficiency: The starlink mini 12v cable is designed to minimize energy loss, ensuring your satellite system operates optimally.
- Simplicity in Installation: This cable is easy to work with, making it simpler to set up your Starlink system without the need for extensive modifications.
- Durability: This cable is built to withstand environmental challenges, ensuring long-term functionality and reducing the need for replacements.
- Enhanced Connectivity: A direct and reliable power supply minimizes interruptions and enhances the quality of your internet service.
Common Applications for the Starlink Mini 12v Cable
The versatility of the starlink mini 12v cable opens up numerous applications. Here are some common scenarios where it can be used:
- Off-Grid Installations: Ideal for homes or cabins located far from traditional power sources.
- Mobile Setups: Perfect for mobile units, including RVs and boats, that rely on battery systems.
- Emergency Preparedness: Useful in situations like power outages where maintaining connectivity is crucial.
Preparing for Installation
Essential Tools and Equipment Needed
Before starting the installation of the starlink mini 12v cable, it’s important to gather the necessary tools to ensure a smooth process. Here’s a checklist:
- Wire Strippers
- Screwdriver Set
- Voltage Tester
- Mounting Hardware
- Electrical Tape
- Appropriate Connectors (if needed)
Safety Precautions to Consider
Safety should always be a priority during any installation process. Here are some precautions to take:
- Ensure that the power source is disconnected before handling the starlink mini 12v cable.
- Wear appropriate personal protective equipment (PPE), including gloves and safety glasses.
- Confirm that all connections are secure to prevent short circuits or power outages.
Choosing the Ideal Location for Setup
Location is key to the performance of your Starlink setup. Select an area that offers a clear view of the sky with minimal obstructions. Here are some tips for choosing the right spot:
- Ensure the dish is shielded from wind and weather elements that might cause structural damage.
- Preferably, locate the installation point close to the power source.
- Avoid areas under tall trees or buildings that may block the satellite signal.
Step-by-Step Installation Process
Connecting the Starlink Mini 12v Cable to Devices
Once all preparations are complete, it’s time to connect the starlink mini 12v cable to your devices. Follow these steps:
- Begin by stripping the ends of the starlink mini 12v cable off to expose the wires.
- Connect the appropriate cables to the Starlink dish and the power supply, ensuring that you follow the correct polarity.
- Secure all connections using electrical tape to prevent any unintended disconnection.
Routing and Managing the Cable Effectively
Proper cable management is essential to avoid damage and ensure a clean installation. Here are best practices:
- Route the cable along walls or ceilings to keep it out of harm’s way.
- Use cable clips or ties to secure the cable in place.
- Avoid placing the cable in high-traffic areas to reduce wear and tear.
Testing the Connection: What to Look For
After connecting everything, it’s important to test the system. Here’s how:
- Reconnect the power source and check for any visual indicators on the Starlink device.
- Ensure the internet connection is active and stable by accessing the network on a device.
- If any issues are present, double-check the connections and consider using a voltage tester to diagnose potential problems.
Troubleshooting Common Issues
Identifying Connection Problems
Even with the best preparations, issues may arise. Identifying connection problems early can save time and stress. Common indicators of issues include:
- Frequent disconnections or signal drops.
- Slow internet speeds that don’t meet expectations.
- Failure of the wireless device to recognize the network.
Solutions for Power Supply Challenges
Inadequate power supply can lead to performance issues. If you suspect this is the cause:
- Check the power source to ensure it is functioning properly.
- Verify that the starlink mini 12v cable is undamaged and properly connected.
- Consider using a backup power source, such as a portable battery or solar panel.
Maintaining Optimal Performance
To ensure your Starlink installation remains in top shape, regular maintenance is necessary. Keep these practices in mind:
- Periodically inspect the starlink mini 12v cable for signs of wear or damage.
- Keep connections clean by ensuring there is no buildup of dirt or moisture.
- Regularly test the connection speed to determine if adjustments are needed.
Tips for Long-Term Use of the Starlink Mini 12v Cable
Ensuring Cable Longevity and Durability
To maximize the lifespan of your starlink mini 12v cable, consider these tips:
- Protect the cable from UV exposure by shielding it or using UV-resistant materials.
- Store the cable properly when not in use to avoid kinks and tangles.
- Handle the cable carefully during installation and adjustments to prevent stress points.
Upgrading Components for Enhanced Performance
As technology advances, consider upgrading components when necessary. Potential upgrades include:
- Improving external equipment, like routers or antennas, to boost performance.
- Upgrading to a higher capacity power supply as needs grow.
- Investing in weatherproof enclosures if the installation is outdoors to protect equipment.
Staying Informed About New Technologies
Lastly, keeping up with industry developments can prove beneficial. Stay informed by:
- Signing up for newsletters or following relevant industry news sources.
- Engaging with online forums or communities of other Starlink users.
- Attending workshops or webinars focused on satellite technology advancements.